Electronic prototypes can be difficult to build. You can’t see most of the parts and you have to rely on measurements, not just the naked eye, to troubleshoot. To get your electronic device up and running, Enventys Partners explains the three common ways electronic prototypes fail and how you can avoid them.
Avoid the Pitfalls of Electronic Product Development
If you’re thinking about or currently building an electronic prototype, congratulations!—that’s a wise endeavor. From gaming and gardening to healthcare and home security, electronic devices have the potential to solve unique problems and open new market sectors in nearly any industry imaginable.
The Trouble With Electronics
Electronics are tricky to develop because the functions of these devices are run by electrons. The motion of electrons is invisible, so troubleshooting relies on specific feedback from voltmeters or other measurement devices. Plus, the small size of the electronic components only amplifies the potential for frustration.
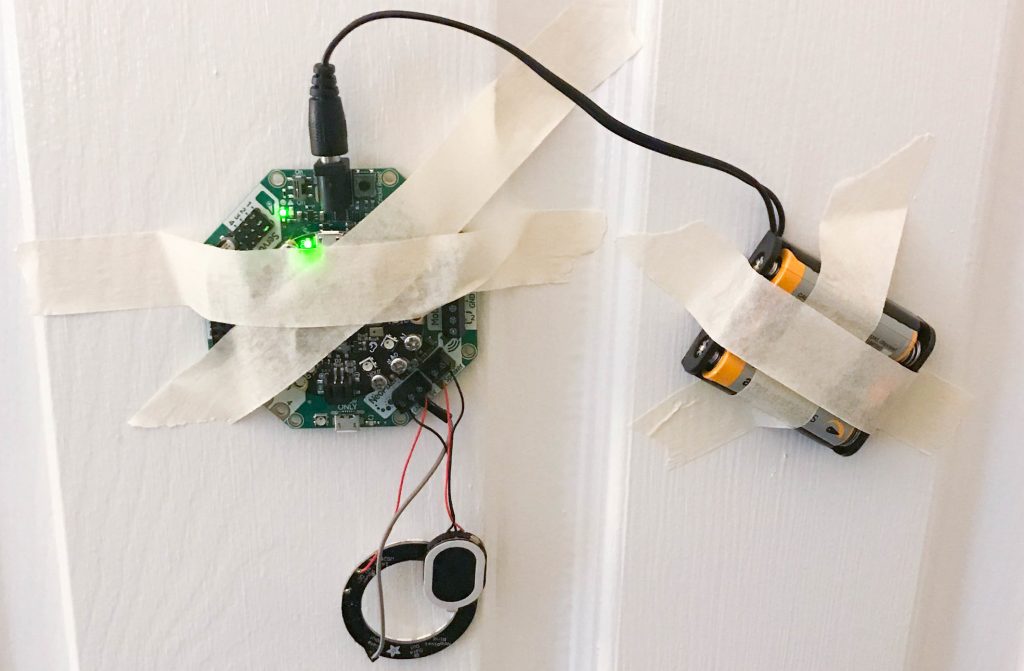
This electronic prototype plays a spooky sound when the door opens and was a hit at Halloween.
To help make prototyping easier, Enventys Partners explains the three most common ways your prototype fails along with how you go about fixing the situations.
Pitfall #1: Poor Connections
The number one cause of electronics issues is a bad connection. Sometimes electronic prototypes just start acting strangely for no obvious reason. Components may stop working, microcontrollers may stop taking code, or some other frustrating issue may take place. These problems are usually traced back to a fragile connection. Sometimes the culprit is a wire that has obviously come loose. Other times, however, the cause is harder to spot such as a hairline crack in a solder joint.
Document Everything
The best defense against a poor connection is documenting the circuit before trouble hits. Take plenty of pictures of the circuit in its working form and get closeups on all of the solder joints. This will provide good documentation for how to rebuild the circuit if something goes wrong.
Look Closely
It’s also helpful to invest in a digital microscope. These devices plug into a computer and allow you to get a close-up view of the components and solder joints. From there, you can see if there are cracks in the solder or conductive debris that may be accidentally creating a short circuit.
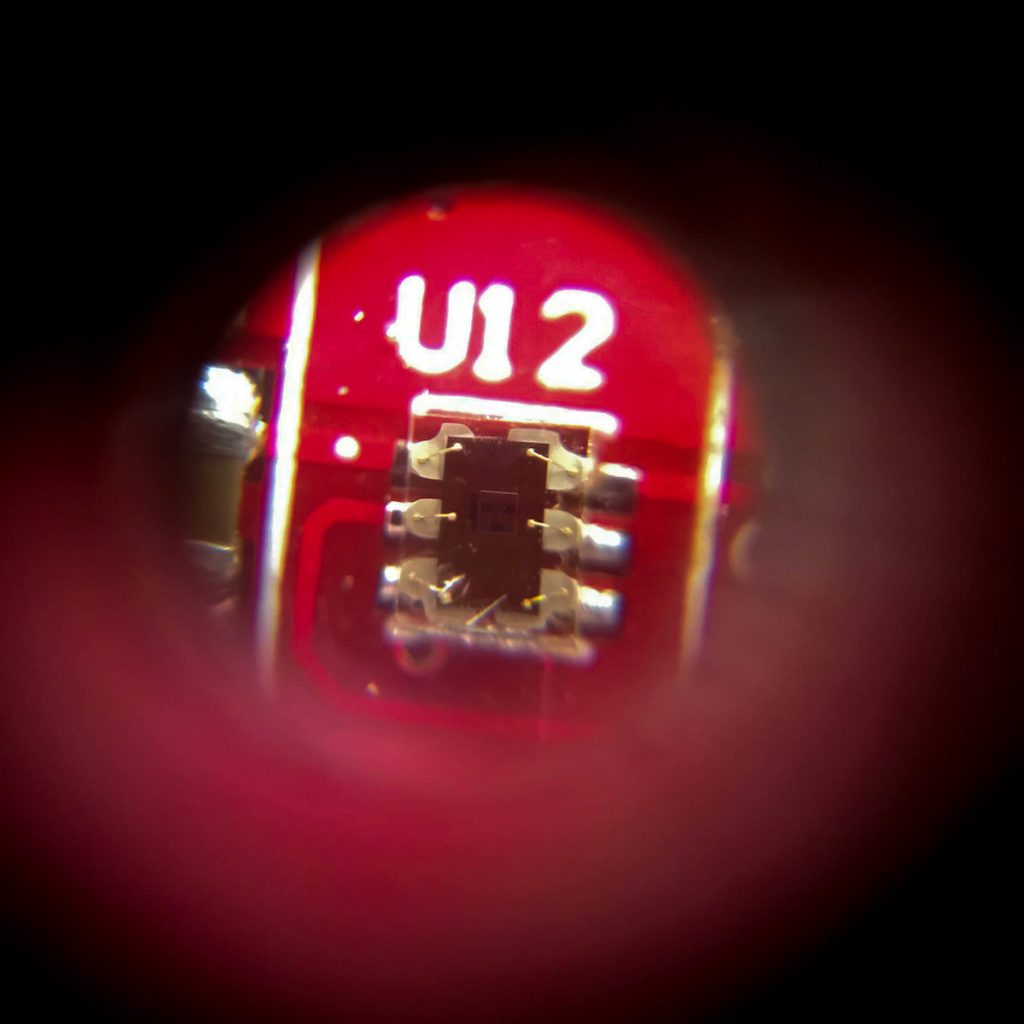
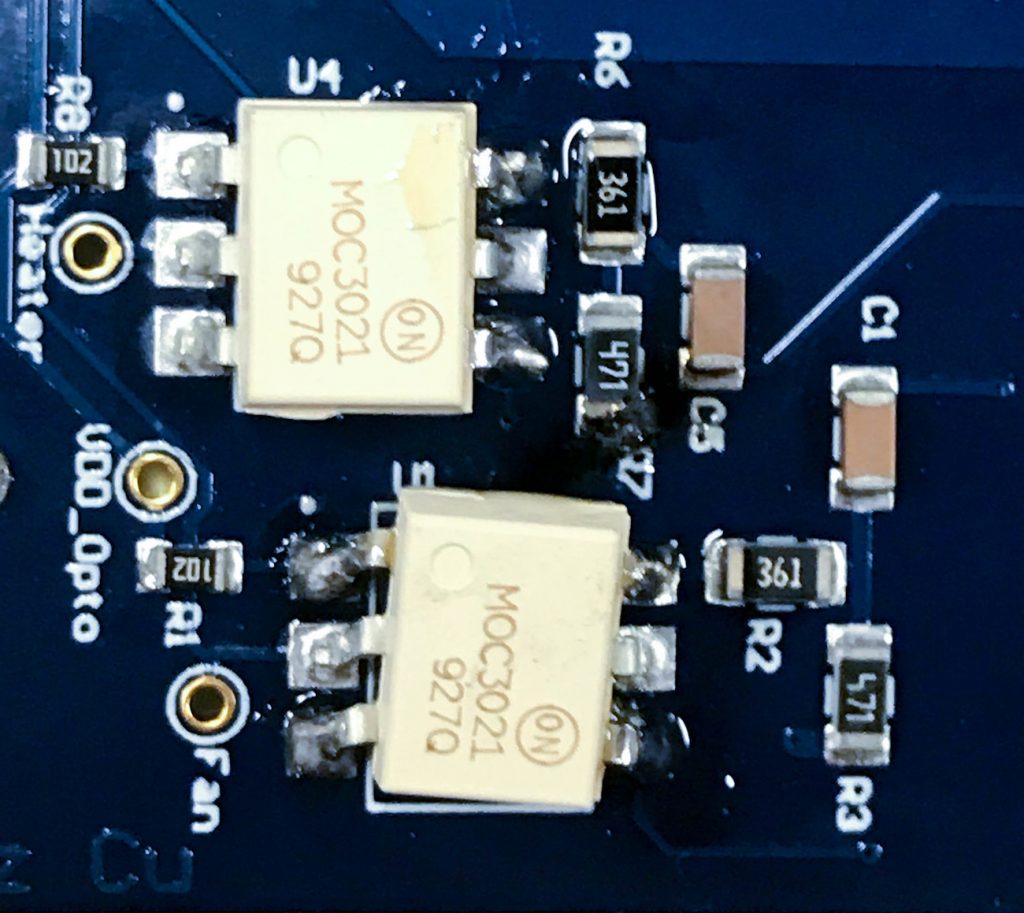
A smartphone microscope captured this image of a component suspected to have connection issues
Transfer to a Custom Printed Circuit Boards
Another way to combat poor connections is by eliminating extraneous wires and connectors and transferring your design to a custom printed circuit board (PCB). A PCB is like a surrogate for wires and connectors. The board’s traces connect the different components and do so in a tidy way that’s hard to disconnect. PCB design is a specialized skill, but not impossible for garage inventors to do.
Design a Custom Board with ExpressPCB
ExpressPCB, a circuit board manufacturing house, offers free and easy-to-use PCB design software that integrates with their prototype board fabrication service. Then, once you’re done with the design, you can buy the boards for less than $100. However, if you have a complicated design or can’t figure out how to use the software, it’s best to seek out a professional.
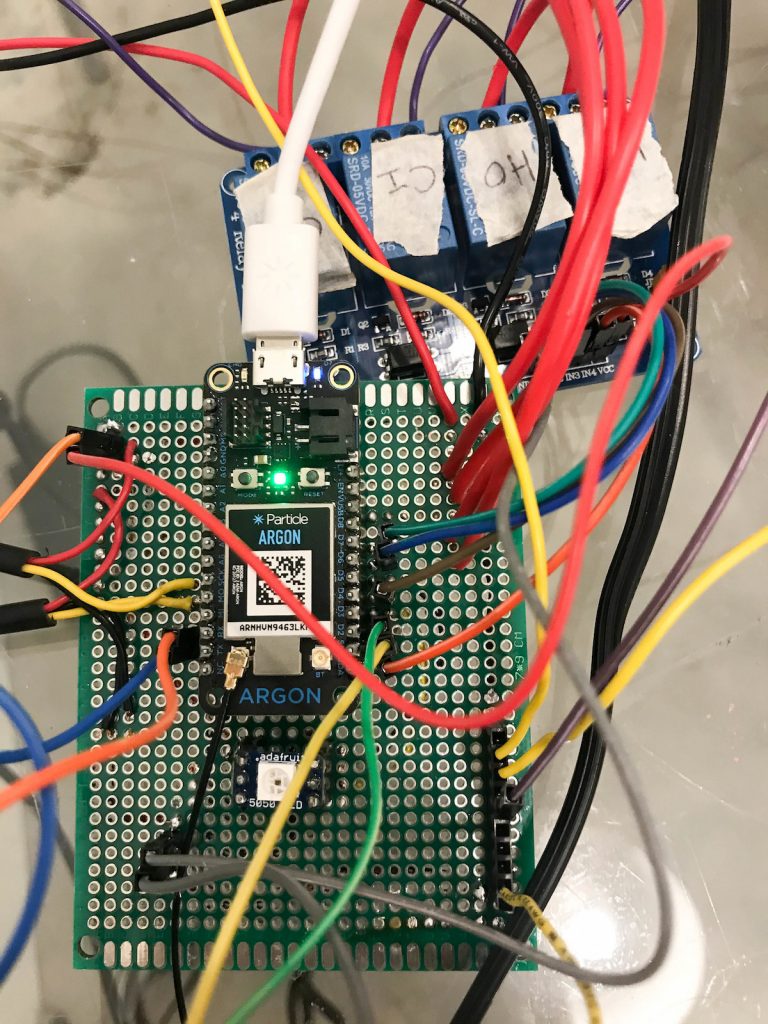
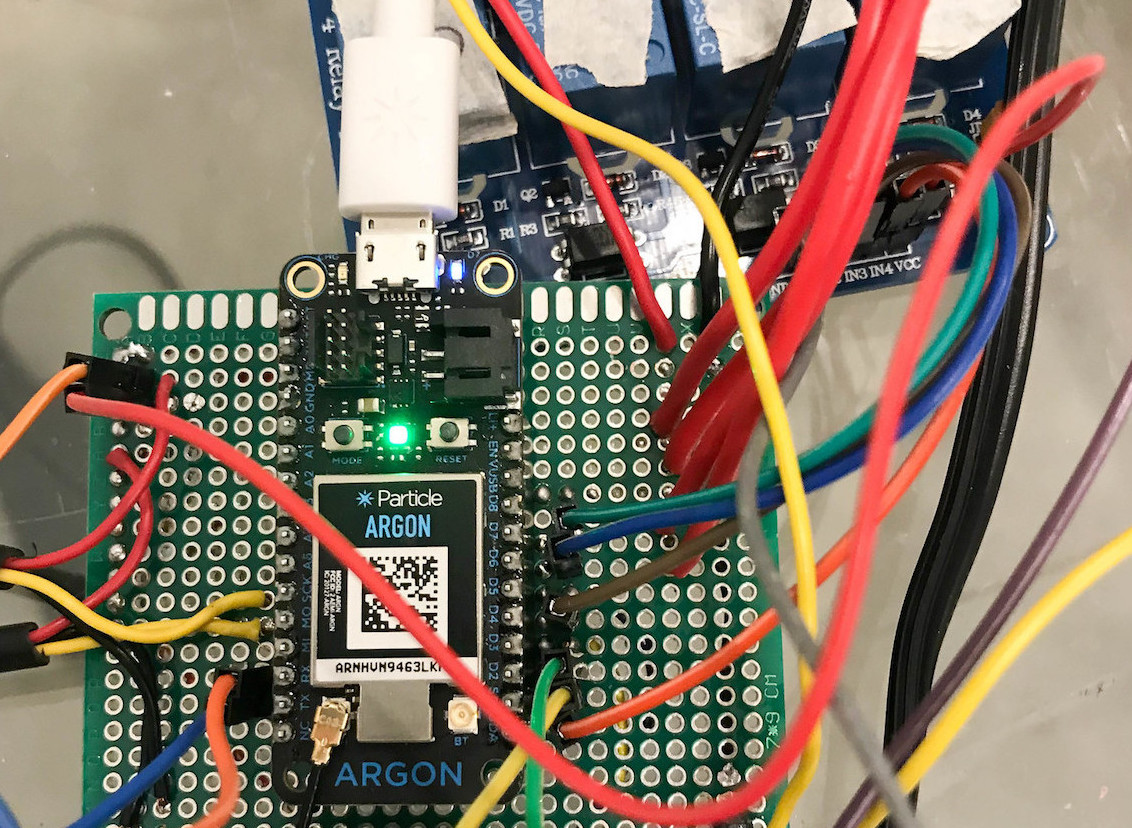
This circuit is great for a proof of concept, but, to avoid potential problems, its design needs to be transferred to a PCB as soon as possible.
Pitfall #2: Too Many Wires
In the early stages of prototyping, it’s common to layout the breadboard with jumper wires connecting the different components. Indeed, this is a necessary part of the process since it’s crucial for working out the details of a circuit. However, you’re also asking for trouble when your prototype is outfitted with too many wires. Jumper wires tend to be long so it’s likely they will crash into mechanical housings which interrupts the mechanical motion inside the prototype. It is also easy for jumper wires to fall out and disconnect.
Use Color to Organize
If your prototype has many wires, it’s good practice to use a sensible color scheme. Red for the positive side of the power source and black for the ground terminal is common for many circuits while other colors are used for different data lines.
Treat Wires Gently
It is also important to keep wires from being physically stressed. They should be long enough to go from component to component but still have slack so the solder joints or connectors do not bind. If wires are going in the same place, zip-tying them together to make a bundle also helps control and keep them tidy.
Use Parts Built into Shields
Another way to prototype electronics with a minimum of wires is to use parts that are built into shields. Arduinos and other microcontrollers are designed with a specific pattern of headers so that sensors, actuators or other components can be installed on different (but same-sized) boards. Then they can be stacked on top of the main controller PCB like a sandwich, which ensures a good quality connection between each layer and eliminates wires.
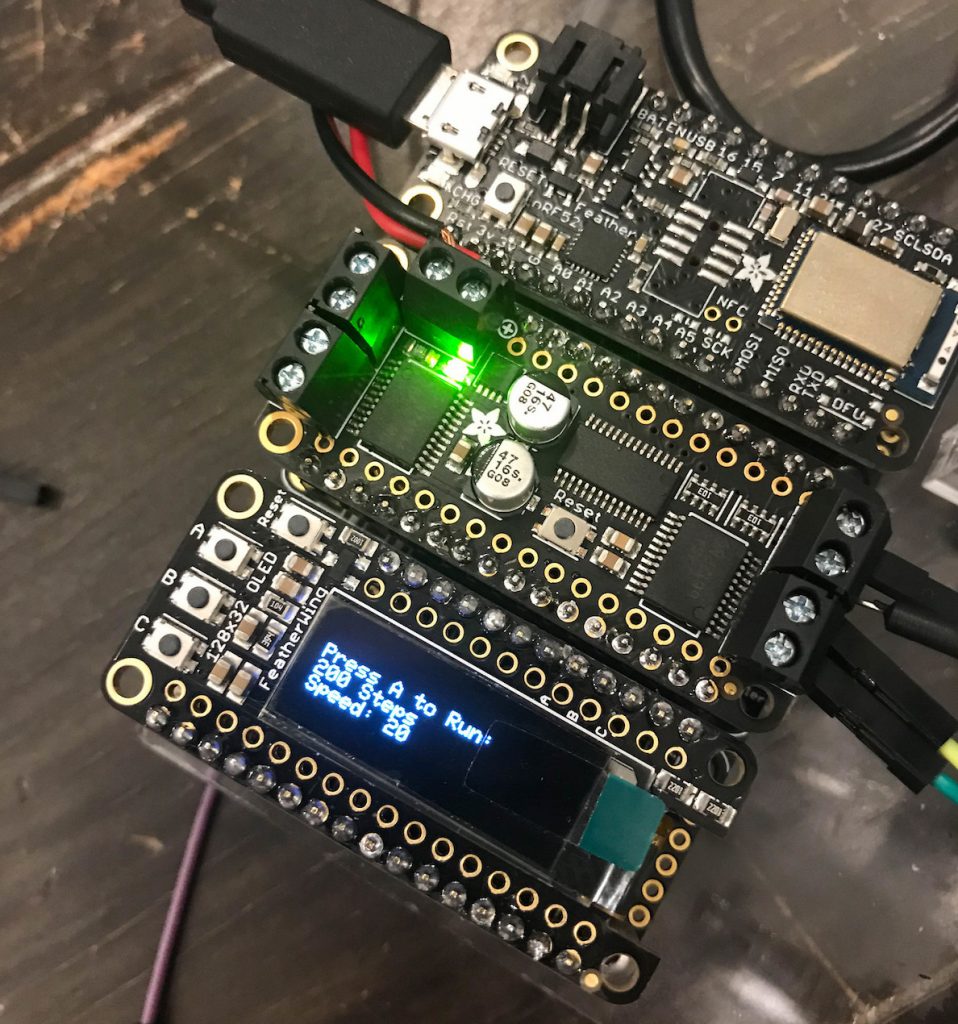
This circuit used three different “feather” style shields to cut down on the amount of wiring between the microcontroller (at the top), motor driver (center) and OLED display (bottom).
Pitfall #3: Repairs Gone Wrong
Circuit boards are particularly prone to iatrogenic problems, which is to say that doing a repair can often cause unintended damage. Every time you try to repair a circuit board, you create an opportunity to hurt it, so the more often it is repaired the more likely it will develop a problem eventually.
Be Delicate With Traces
One of the most common results from too much handling is destroyed traces on the board. The trace is the layer of copper underneath the colored skin of a circuit board (usually green) that connects the components. They are delicate and can be easily damaged or torn when not handled carefully during rework. An example of this is when you pull too hard on the component while trying to desolder it.
Don’t Overheat When Soldering
Another consequence of accidental damage is the overheating of sensitive components. Most electronic components have a pretty high-temperature threshold since they have to withstand being soldered to PCBs in a high-temperature oven. Unfortunately, the concentrated heat from soldering irons can melt LED lenses. Overheating can also damage protective shells around integrated circuit components (ICs) and cause failure.
This component was accidentally affected by overheating during a repair as the component has shifted and the legs are bent.
Be Meticulous
The most obvious way to reduce unintentional damage to a PCB is to not have to repair it in the first place. Being rigorous in your design and breadboard prototyping will help to control any issues with the circuit.
Use the Right Tools
If you do have to do rework on a PCB, using the right tools and being patient are your two best bets. Rework on a PCB usually means soldering, so invest in a good quality soldering iron before attempting a rework job.It is also important to use a soldering iron tip that matches the size of the components you are working on. For example, you do not want to use a huge chisel tip when working on small surface mount components as you risk affecting nearby components.
Hot Air Reflow
When working on components with multiple legs, it’s helpful to use a hot air reflow gun for placement and removal. These tools are like ultra-high temperature hair dryers but have small nozzles that blow concentrated air over a controlled area. This melts solder on multiple pads on a single component at once. PCB vices are also helpful in controlling your circuit during the repair since the PCB must be stable while you work.
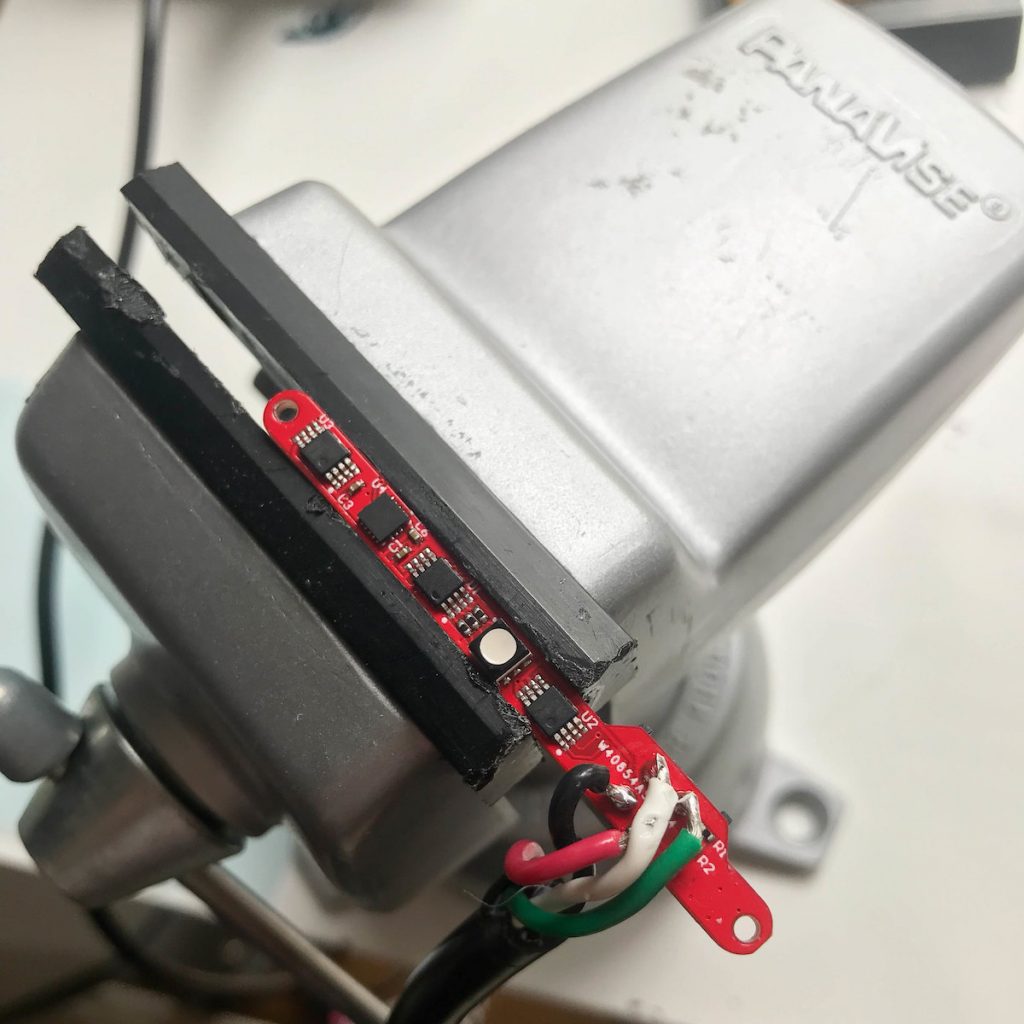
Hold your circuits in a vice so you do more precise repair work and prevent problems.
Let Enventys Partners Troubleshoot
If you need help prototyping your electronic device, get in touch with the experts! Enventys Partners can turn your dream prototype into a functional, highly-aesthetic and refined product that’s ready for manufacturing, crowdfunding and beyond.
Work With Us
Want to learn more about how we’d prepare your product for launch? Request a quote today.
Want To See This Advice In Action?
Check out our case studies and learn more about how we’ve achieved stellar results for our clients.