LoRa tech is a young, but useful, wireless technology that has found widespread use in a variety of industries. In part 2 of this blog series, we discuss how to set up LoRa for prototype uses.
The deployed Smart Parks system uses a network of LoRaWAN towers installed at strategic areas of the park, and the rhino population has been fitted with LoRaWAN trackers that were small enough to be installed directly into the horns of the rhinos. This provided accurate triangulation and a solution that is nearly impossible to hack into by poachers. The result of these efforts has seen an increase in the population of rhinos in the park and even required an expansion of the Smart Parks infrastructure.
This story proved the power of LoRa as a viable wireless solution in a harsh environment with a high stakes outcome. In this second part of our series on LoRa technology, I will show how LoRa networks are structured and how to prototype with them.

A rhino is equipped with a LoRaWAN transmitter molded into its horn. Learn more at https://www.smartparks.org/news/first-black-rhinos-protected-sensor-implants-horns/
LoRa vs LoRaWAN
Before prototyping with LoRa it is important to discuss the two main types: LoRa and LoRaWAN. LoRa is the core wireless technology that transmits data in the sub-gigahertz frequency range using the characteristic chirping technique it is known for. LoRa operates in open frequency bands in the regulated frequency spectrum. The frequency band is different in different regions of the world. LoRa operates at 915 MHz in North America, 868MHz in Europe, and 433 MHz in Asia. If you’re developing solutions that will be deployed in multiple countries, you’ll want to keep this in mind.
LoRaWAN is the communication protocol that allows LoRa-enabled devices to communicate with each other. It provides the common format to allow data transfer between end-devices and gateways and provides network security. Think of it like LEGO bricks. The plastic they[‘re made of is the LoRa, and the studded shape that allows them to connect together is the LoRaWAN.

This prototype is using the point-to-point LoRa communication and not the networking layer LoRaWAN that would take the data to the cloud.
Network Architecture
A typical LoRa network consists of three parts, the end node, the gateway and the cloud. The end node is what is collecting or using the data and can be a sensor reading data or an actuator or indicator that changes state based on the data it receives (LED, buzzer, motor, etc).
The gateway is a device that transfers data between the end node and the cloud. It has both LoRa technology to communicate with end-nodes and tech that transmits signals to the cloud such as ethernet or cellular. LoRa data cannot get to the web without a gateway, and unfortunately, smartphones won’t work because LoRa radios are not natively inside of smartphones.
The final piece is the cloud, which provides visualization for the data and/or a dashboard to interact with end nodes. The most common cloud service available for LoRaWAN is The Things Network, but data can also be pushed to other cloud services like AWS (Amazon), Google Cloud, or Microsoft Azure.
Setup For Prototyping
LoRa nodes can be set up in a number of different ways depending on the requirements of the application or prototype. The simplest way is to have two LoRa-enabled devices that talk to each other and do not report data to the cloud. In this master and slave dynamic, one device reports data from afar, and the other device receives it and displays it on a screen or connected computer. For example, one device can be wired to a temperature sensor and report its data back to the master. This type of setup eliminates the complication of the cloud so you can try out LoRa while investing the least amount of time.
While LoRa developer boards are more expensive than WiFi and Bluetooth dev boards, they are still within the budget for most garage inventors. The Heltec point-to-point LoRa boards are available in packs of 2 for less than $60, and a similar setup from Adafruit or Arduino will be less than $100.
Obviously, it gets a little more fun and slightly more complicated to add cloud connectivity. To do this you need to purchase or build your own gateway to the cloud. There are a number of LoRaWAN gateways that can be purchased from online retailers. The price of these ranges from $100 and up, so is not an inexpensive investment. However, these commercially available options will generally be easier to set up and have instructions and support to get up and running faster. Just make sure you pick a gateway that has a backhaul that is useful for your application as LoRa gateways can use ethernet, cellular, or WiFi to push data to the cloud.
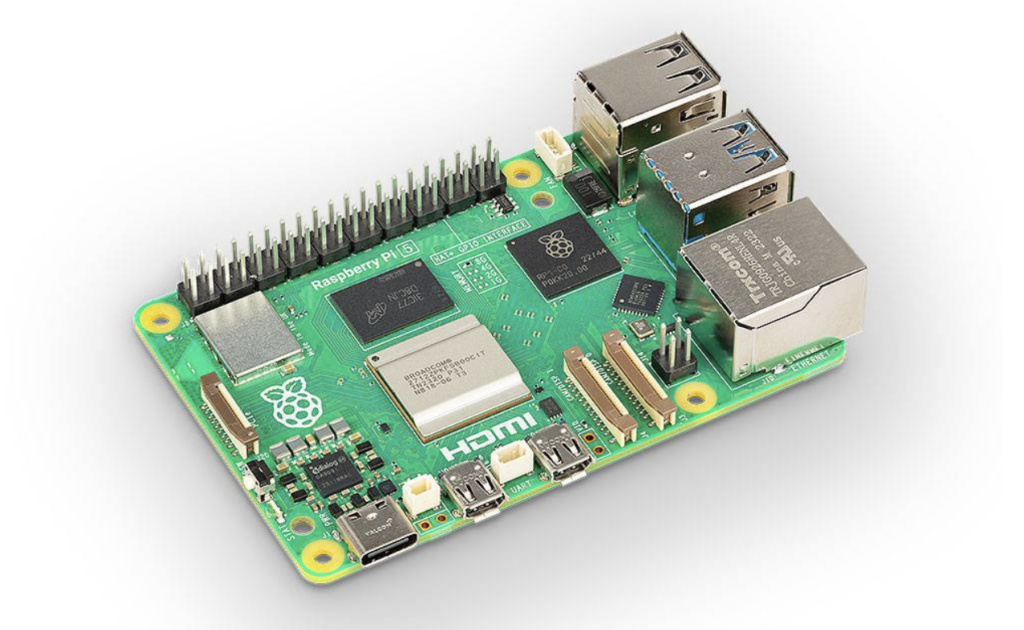
Using a LoRa hat, a Raspberry Pi can be set up to be a LoRa gateway to port data to the cloud
If you have the chops to go the maker route, you can build your own. There are a number of tutorials about how to use a Raspberry Pi as a LoRa gateway by either using a LoRa hat or by wiring up a LoRa device directly. Adafruit has a bespoke hat with an OLED that works with a PiZero which is an easy way to get started. You can also use an ESP32 based gateway to port data to your WiFi network, and Sparkfun has a one-channel gateway that does just that. In either case, these will be slightly less expensive in dollars and likely more time-consuming to set up.
No matter how you set up your LoRa network, one of the keys to the setup is the spreading factor. The spreading factor is a setting that is unique to LoRa and is indicative of the speed of the chirps. LoRa uses 6 different spreading factors dubbed SF7 to SF12. The lower the spreading factor the faster the chirps, the higher the bit rate, and the shorter the transmission distance, and the longer the battery life. Tuning the spreading factor is a key parameter in a successful LoRa deployment.
Conclusion
Long-range is a paramount feature that is embedded in the name, but its potential for long battery life and low-cost deployment is just as compelling for developers. While it has primarily been used in industrial applications, it is only a matter of time before it moves into the consumer space and into the smart home ecosystem. Fortunately, there is now a healthy suite of developer boards that are helping innovators make prototypes and new applications for LoRa and I am looking forward to seeing what comes about in the next half-decade.
Work With Us
Want to learn more about how we’d prepare your product for launch? Request a quote today.
Want To See This Advice In Action?
Check out our case studies and learn more about how we’ve achieved stellar results for our clients.