Want to know how to prepare for a trade show exhibit? The key to success is all in preparation. Begin planning your exhibit at least 3-6 months before the show and make sure you have the logistics nailed down.
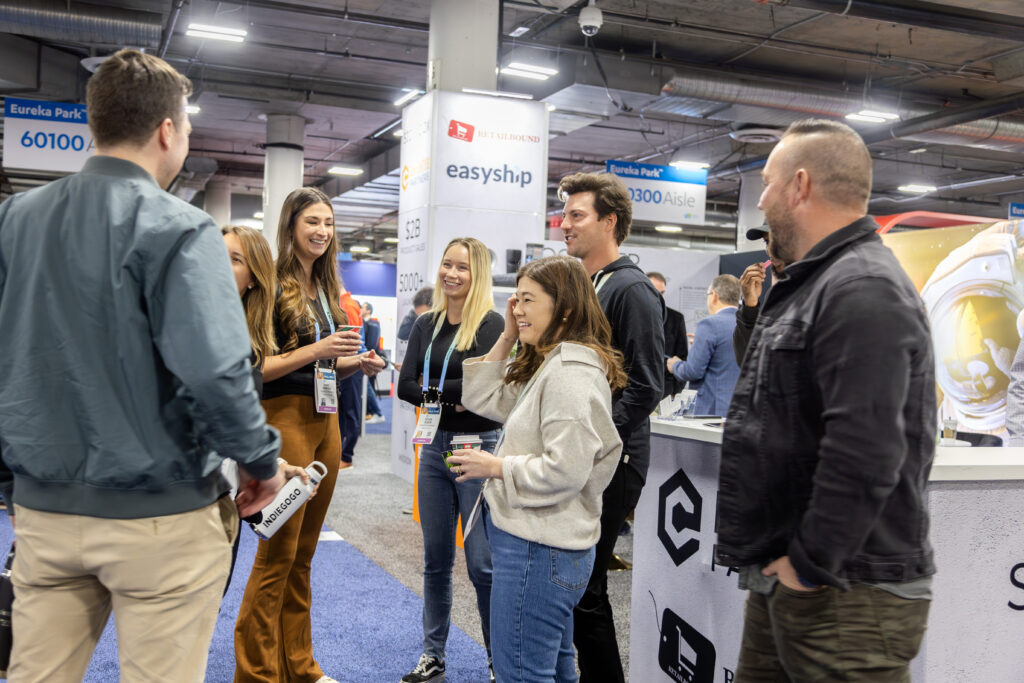
Once exhibitors have their invention prototype and product ready, months of planning, design and execution go into creating a great experience that will hopefully mesmerize and inspire showgoers to remember your product—and hopefully write, blog, and share on social media or buy it after the show.
Building the actual prototype and product is fun and challenging enough, but there is another world of challenges to conquer when preparing for a trade show. Here are some of the important aspects to keep in mind while preparing to demonstrate your product.
Prepare your booth design
This is one of the most important parts of exhibiting at a show. The booth is where you greet guests and show off the product, so the layout, branding and messaging must be compelling and cohesive. You have to try to stand out from others.
The first step is to understand the footprint of the booth. Review the show floor plan and pricing options, and see how much square footage you have.
If you are a startup exhibiting for the first time, there may be an area for new products that has special pricing and dedicated floor space to make exhibiting economical. If you are more established or just want to make a bigger splash, there will be options to go bigger—but the cost goes up with the square footage.
Once you know the size of your space, you can design the booth effectively. You can take on this work yourself, or there are many designers who can be hired for the task.
At the very least, have clear messaging that shows off your brand and explains what the product does with absolute clarity. You know your product inside and out, but showgoers are coming to you with zero knowledge and simple is often better.
For more extravagant booths, you can have bespoke areas for product demonstrations, signage and photos showing use cases, and even looping video. Start planning the design at least 3-6 months ahead of time to get the most from it.

This booth design uses a scaled-down version of the device and laser-cut parts to show off the technology.
Think about swag and handouts
Trade shows are famous for their swag—and rightly so. Giveaways that guests take from the booth are an opportunity for your brand to live on past the short interaction at the show.
Pens, stickers and key chains will hopefully be used by the guest for months after the event and give your brand the repetition it needs to stay relevant. Brochures and other marketing materials will provide more information about the product.
Flyers and product information sheets are the most important to design well, as they are providing key information about the product. I like flyers that are smaller, like a tri-fold or postcard size; show goers may be resistant to taking something the size of a full sheet of paper.
Great graphics and concise branding are key here. You do not want to overwhelm the reader with tons of information. It needs to be thought of more as a billboard, not a novel. Be sure to provide a website and email address for people to read more if they want more details later.

This pile of swag awaited show goers at the 2022 Consumer Electronics Show.
Tons of companies will custom-print logos on pens, keychains or a number of other trinkets, so there is not much to design. Just pick what you want and have it made.
I prefer to make swag that has a chance for some utility and is an opportunity for brand engagement after the show. Pens, stickers, and—in a post-COVID world—face masks are all good choices. Just beware that these giveaways are going to represent your brand past the trade show, so do not opt for the cheapest that will potentially provide more damage than good.
Shipping
Sending your product and/or other associated items for your booth before the show is a deceptively time-consuming part of the process, with lots of moving parts and plenty of easy-to-overlook details.
If you have a small booth with just a banner and a small display, you may be able to hand-carry everything on the plane or pack it in the car. However, anything more than that will likely require a crate and a freight shipment to the show. You can build your own crate, but the time and effort are likely not worth it.
Uline stocks a line of low-cost, pre-made wood crates that are easy to assemble and tough enough to make the trip. They come in many different sizes and are assembled using a hammer and screwdriver.
A crate should be shipped via a freight service; many different carriers can help. You’ll need to get familiar with the terminology. For example, a crate shipment is called LTL, which stands for “less than container load” because it does not take up the entirety of a standard, 53-foot container.
You can get rate quotes from big companies including FedEx, but other carriers have good rates and service — such as Old Dominion Freight Lines and R&L Carriers. I often use Old Dominion, which has a department dedicated to trade show transport.
No matter which carrier you choose, you have to figure out what freight class number your shipment is for use in the online quoting tools. The freight class is a number assigned to a freight shipment, based on the density of the container and perceived ease of shipment. Online calculators can give you this information if you have the dimensions and weight of your crate.
When getting your rate quote, you also need to specify whether you need the pickup and drop-off trucks to have a liftgate. (Hint: If you do not have a freight dock where the crate can easily be shuttled into the back of a truck, you need one.)
Check with the receiving trade show to ensure you have the correct address and put it on at least three sides of the crate. Remember to include your booth number.
Shipping the crate back home at the end of the show has challenges, too.
You have to pack up your booth and get the crate sealed within the specified time window so the show staff can get it off the floor. Then you need to work with show logistics staff to ensure the crate is labeled correctly for transport in the show hall, so it can make its way to the pickup dock in a timely manner.
Freight lines have certain time windows to pick up from the convention center. If you miss these, it is at least a headache and at worst will result in extra fees.
With so many steps and potential issues at every part of the shipping process, give yourself plenty of time on both sides of the shipment calendar to defend against missteps and potential delays.

After the booth is taken down, it is loaded in a shipping crate to head back home.
Work With Us
Want to learn more about how we’d prepare your product for launch? Request a quote today.
Want To See This Advice In Action?
Check out our case studies and learn more about how we’ve achieved stellar results for our clients.